Film Technique

Using these two links I found some useful ideas on how to effectively direct and portray ideas in film, I will discuss five of them here.

https://www.bhphotovideo.com/explora/video/tips-and-solutions/filmmaking-101-camera-shot-types

Extreme Long Shot

Image result for extreme long shot

This is an example from the movie Shrek. A shot like this allows the full characters to be seen as well as their surroundings. It helps to accentuate the environment/setting.

Dutch Angle/Tilt

Image result for dutch angle

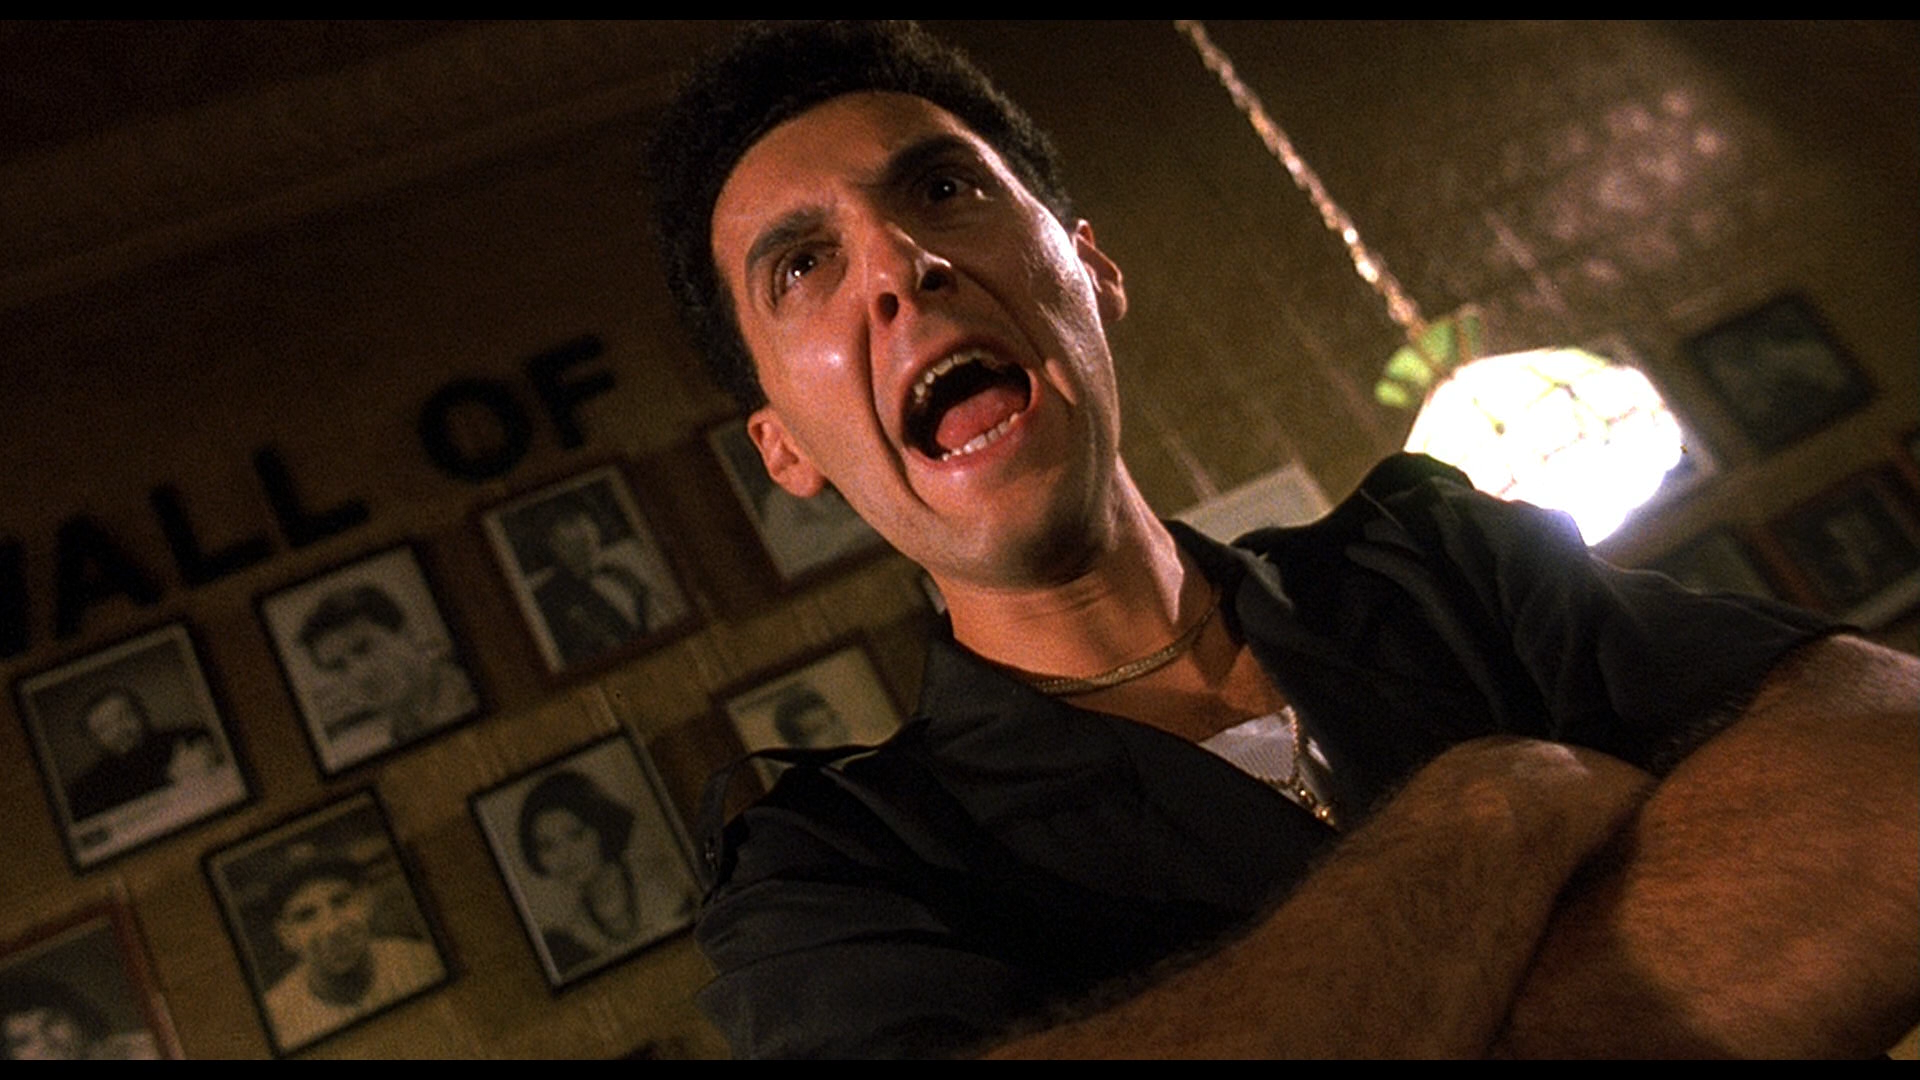
This is an example from the movie Do the Right Thing. The shot is done at an angle to provide a sense of chaos and instability, that further the feelings of paranoia which often accompany these shots. You can learn more about this shot here https://movies.mxdwn.com/feature/why-it-works-dutch-angles-and-winning-scenes/

Establishing Shot

Image result for establishing shot

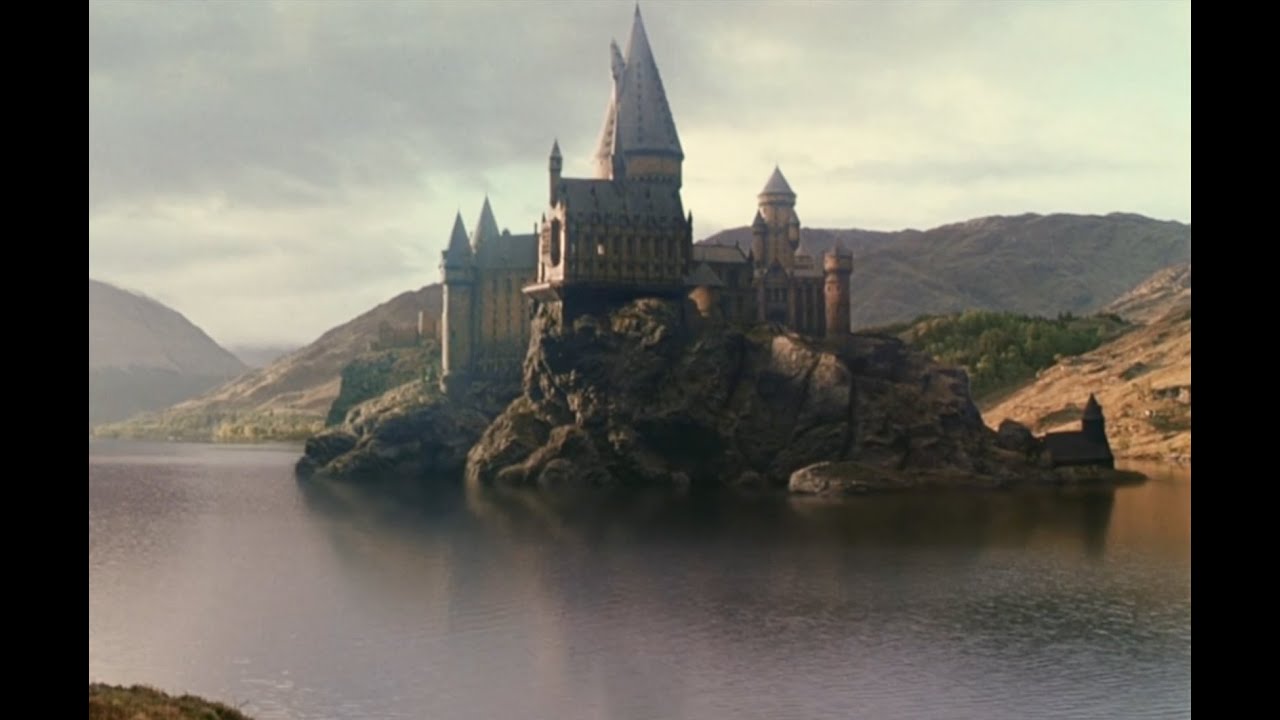
This is an example from Harry Potter. The establishing shot gives the viewer a sense of setting which allows for better understanding of events that take place within this wide shot.

Two Shot  

Image result for two shot

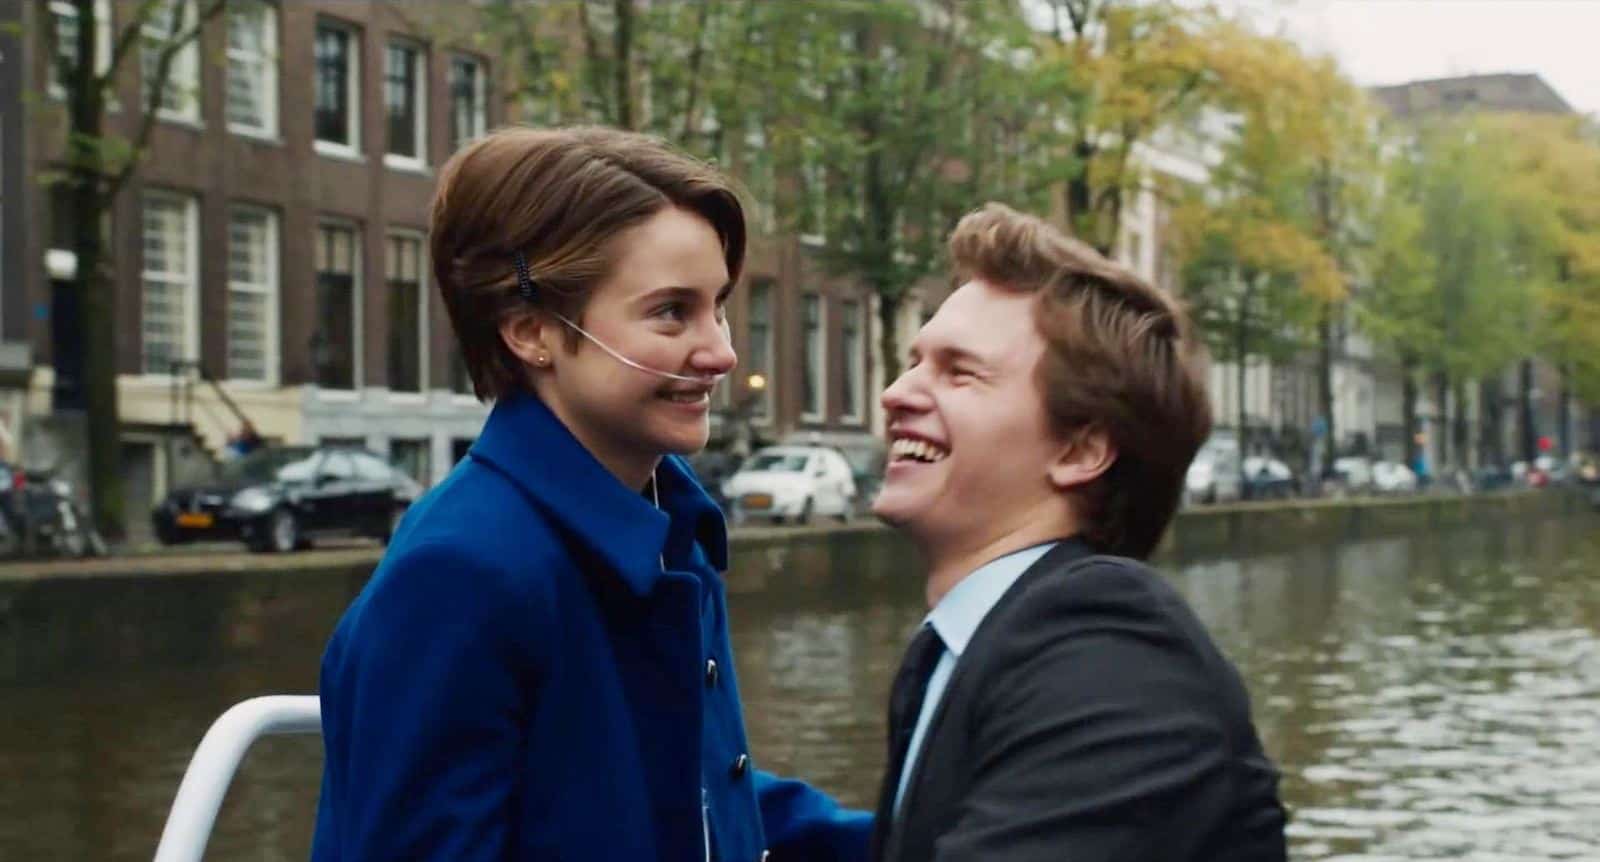
This is an example from the Fault in Our Stars. The two shot exemplifies two characters. It allows for showing of emotion in relation to each other. You can learn more about the two shot here https://www.studiobinder.com/blog/two-shot-camera-angle-movement/

Over-the-shoulder shots

Image result for over the shoulder shot

This is an example from Titanic. The over-the-shoulder shot allows the director to place the viewer in the scene giving either a sense of intimacy or exclusion.

Here are some of my personal shots that follow the techniques of two shot and establishing shot.

Learning about these shots is very interesting from both a viewer and creator stand point.

Thanks for stopping by!

Not So Silent Movie

For this project I used the silent film Fun in a Bakery Shop by Thomas A. Edison made in 1902, and added audio over top using Adobe Audition. I also used the Voice Memo App to record the sounds on my phone. There were a lot of layers and adjusting of sound but the hardest part was recording all the sounds. I used some humming, muttering, play dough etc. The song being played on the piano is Jeanie with the Light Brown Hair.

My first step was to watch the video and write down all the sounds I wanted to make.

Then I recorded and put it all together. This is a snippet of my work space.

The final product!

Radio Ad

For this assignment I made a fictional company and a 30 second radio ad for them. I chose to make one about online texting classes. First I wrote a script.

Then I had to record the voices, which I did with the help of my friends! I also had to cut some parts of the script. I added music and made sure it fit into 30 seconds. Enjoy!

A journey in Animate

This animation was made with Adobe Animate. It tells a short story of a girl who meets a mermaid and then lets her emotions get the best of her and pays the consequences. This project was really intensive and required a lot of time. I made the background in Illustrator then put it into Animate

Then I started movie the background parts such as the fish, book and light.

Then I added the main figures and animated the movement.

And this is the final product,enjoy!

A Walk in the Rain, Animation Style

This may look familiar as I used my walk cycle as the center point, but I added a couple layers of additional animation using motion tweens. Motion Tweens are a quick way to create smooth animations.In order to create a realistic setting I used the concept of Parallax motion, which is the things closer to the forefront move faster and those far away move slower.


I encountered some challenges while making this piece. At the beginning it took some adjusting in order to make sure the animation would flow smoothly. I did this by using Photoshop to create the backgrounds and make the size of the canvas larger than that of the stage so the Motion Tween would work without jumps.

Another Problem was with the rain. On my first try I hand drew each frame of rain to get the elongated effect of rain falling, this however made my animation very jumpy and so to counteract this I instead drew some streaks of rain in Photoshop then placed it over the Stage.

In order to create the stars I used the feature of Alpha inside of the Properties tool. This allowed me to change the opacity of the stars and create the twinkling effect.

The Motion Tween tool is very useful and makes animation much simpler!

Good luck making your own Motion Tweens!

-Anna 🙂

Animated Walk

In order to make this animation I first had a friend film me walking down the hallway. Then I inputted the video as a layer, then made a new layer on top of it and began to draw.

Then I drew frame for frame my walk mostly keeping the top half of my body the same. I drew about 27 frames then added blank frames in between them to fix the timing and speed, as my original was too fast to be natural.

After I did that I made some center lines in order to keep my animation steady. Animation is a laborious but cool form of digital media.

Photoshop is Off the Rails!

To create this image of a train coming out of a Polaroid I used Photoshop and this photo of a train. 

In order to take away the parts of the image I used masks and the eraser. To change the coloration I used filters. This creation emphasizes the use of masks and transforming to pull of this optical illusion type of photo. It was tricky to make sure the mask was accurate and the coloration was not too extreme. Overall this was a good project for a beginning Photoshop learner.

Good Luck!

Anna 🙂

Outerspace from Dirty Floors?

Would you believe me if I told you I made this, just from some photos of the floor and Photoshop? Stick around and see how I did it!

For this project I found took some photos of random textures and made them into planets in a Photoshop space scene.

These are the two photos I decided to use. Then I went to Photoshop for the rest of the project. The most important part of Photoshop is…. LAYERS, and that was a huge part of this project.

First I made a black layer then added noise, erased and adjusted to make my star field.

Then I made some clouds using black and white and  Filter > Render > Clouds.

Next I made a gradient layer.

Then I made some light spots to highlight my gradient.

Then overlayed them with clouds then the gradient.

Then I used the photo’s I chose to create the planets. I used Filter > Distort > Spherize, to get the rounded look.

Next I added in some light and shadows to fit the lighting.

Then I added a dust ring to the smaller planet by making a new set of clouds and Filter > Distort > Twirl, then erased the unwanted sections. Then I placed it on my planet.

Here is the final product!

This was a very effective project both for the learning involved and the satisfaction with creating such an interesting piece from such uninteresting floors.

Thanks!

-Anna 🙂

Damaged Photo Begone!

Everyone has those photos lying around that are special, but damaged. However with a basic Photoshop understanding, all of those photos can become new! The tools I used to repair the photos were the healing brush tool, and some selection tools.

For this black and white photo I repaired then added color.

This is a very useful function of Photoshop, I really enjoyed fixing what was wrong! 🙂